Many vapers never graduate beyond the cig-a-likes and standard vapes, using their vapes only as a means to an end, a relatively healthier alternative to smoking. But for those that catch the bug, and start investigating how to create a more powerful or tailored vape experience, mechanical mods are eventually where they will end up.
Mechanical mods are, essentially, a bit of a paradox. In essence, they’re the most basic type of vaping device on the market. Largely comprising of just a container with a battery inside, the fanciest the technology gets is the circuit connecting the base, the atomiser and the connector, completed when the firing button is pressed. Unlike DNA mods or regulated box mods, there are no screens and additional gear to help control your wattage and temperature.
On the other hand, mechanical mods offer users the opportunity to evolve their mod beyond the standard; customising the mechanics, parts, design and setup to elevate their vaping experience and create one that is unique and personal. Whether it’s making minimal changes like switching over the material used to wick, or, for the more experienced, developing the internal mechanics, a mech mod will allow you to build a device suited entirely to your own specifications.
And, continuing the trend of how mech mods began, with enterprising vapers building their own containers and circuitry, many experienced vapers even build their own mods from scratch.
If you’re new to mechanical mods, setting one up can seem like a Herculean task of engineering wizardry, but with a little guidance, they’re actually quite simple. And what do you know, we’ve written you a guide to putting together a standard mech mod setup.
But before we begin; because with mech mods, it is the user and not the circuitry which controls the performance and experience of the vape, there is no technology to protect you from any errors or malfunctions. It’s vital that before you begin to set up you’re aware of some basic safety information and guidelines.
How to Stay Safe When Modding
There are a lot of horror stories about unregulated mods that you may, or may not, have already heard. Whilst if you vape unregulated there is no guarantee of safety, by staying aware, informing yourself and being cautious, you can mitigate the risk of potential danger.
Ohm’s law is something that you’ll have seen pop up on our blog, and probably every other blog post you’ve ever read on unregulated vaping. Essentially Ohm’s law is how you can calculate the ‘power’ of the current running through your vape and is essential to know when setting up your coils and battery, so you don’t overload and overheat your vape.
For a quick guide on calculating the Ohm of your mechanical mod, read our Guide to Choosing a Mechanical Mod here.
When vaping at sub-ohm levels, the preferred method of cloud chasers, or any vaper looking for more flavour and denser vapour, the battery and coil generate higher heat levels. If you level too low, your vape could malfunction, overheat, or worse, explode.
It’s essential that before you attempt to build your own mod, you read up on Ohm’s law and pick up some knowledge around lithium based batteries. Only when you feel comfortable enough with Ohm’s law, should you start practising and testing with coil builds. I know you probably just want to rush straight into the exciting build, but 90% of accidents with mech mods are caused by user error and only 10% down to faulty equipment. Meaning you need to be sure about what you’re putting where and the effects of that before you even bring it close to your face.
Grabbing an Ohm’s reader is always a good idea, so you can test your builds before putting them onto a mod.
One of the biggest dangers with mech mods is a higher potential to overheat, or for the batteries to explode due to poorly built or maintained circuitry. But there are ways you can combat this.
Firstly, make sure your mod has proper ventilation. One or two large, or a few smaller air outlets within the body of the mod will help to disperse pressure and reduce internal temperatures, mitigating the risk of buildup and subsequent explosion.
Secondly, be cautious with your batteries. Never lay flat ended batteries upside down or run them within a short circuit setup, as these are the most common causations for batteries to explode. Make sure to research the capabilities of your battery and their compatibility with your build output. Remember that the lower your resistance, the higher the continuous relay of power will need to be from your battery.
Maintenance is equally as important as learning how to build or setup properly. Regularly cleaning your connectors, drippers, mods and tanks may be arduous and time-consuming, but it’ll save you money and ensure your safety in the long run.
Before we finish the debrief and get onto the more exciting, one last thing to consider before you set up, or even build your own mod, is your own abilities. If you’re not particularly technically minded, it may be wise to go into a vape store and get them to help you through your first set up.
How to Set Your Mech Mod Up
As I said before, a mod is fundamentally a tube with a battery inside. At one end, a switch, the other, a connection to attach an atomiser to, which complete a circuit when a firing pin is pressed. The choice lies in what materials you choose for the wire, metal, whether you want a dual or single coil build etc. but you can read more on that later.
In the following steps, I’ll take you through how to build a pretty standard setup.
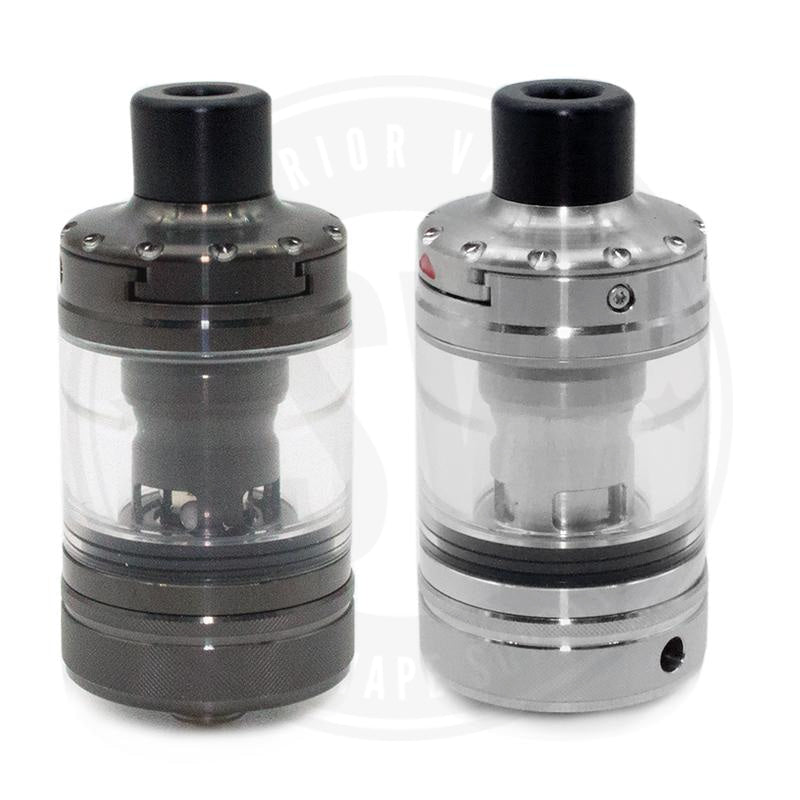
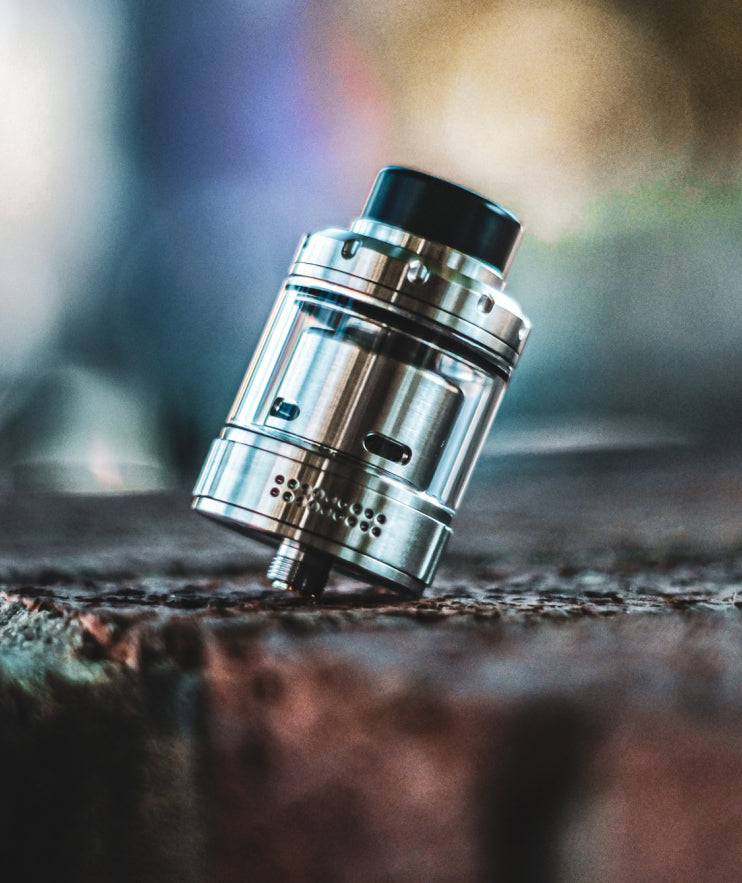
What you’ll need: a mod, an RDA, resistance wire, a screw driver, an ohm metre, a battery, cotton for wicking, your choice of e-liquid and a pair of tweezers and wire cutters.
- Using a small screwdriver, or any other object that’s small and tubular, wrap your wire into a tidy, tight spring. Or, if you’ve chosen to make a dual coil set up, then make a second, identical, coil.
- Next, put your coil into your RDA. You can do this by unscrewing the top of your RDA posts and putting the positive lead into one hole and the other in the negative. Alternatively, you can wrap the wire/leads around the screws before re-tightening, but be careful not to snap the leads with overzealous tightening. Important: the coils should not be touching anything, the cap, posts, whatever, as that could cause a short.
- Install the coils, clip off the leads, ensuring that each lead is of identical length if you’ve got a dual coil build, and whack your RDA onto your ohm metre.
- Once you’ve done the match and your calculations are working out nicely, get your RDA screwed back onto the top of your mod, making sure the connecting pin has made proper contact with the RDA’s bottom connector.
- Charge your battery and check that it is clean and untampered with. If it is, get it into your mech mod, with the positive side facing upwards and, again, making sure not to overly tighten any part of it. It’s all about making connections. Ensure your battery is well connected to the top and bottom pin when the firing button is pressed.
- When the RDA is screwed well onto the top of your mod, get it fired up to check the connections are all in working order. If your coils are glowing evenly, both at the same time in a dual build, you know you’ve done something right. If they’re not, then something is uneven. Give the fire button a quick pulse, then squeeze your coils together with a pair of tweezers. Don’t fire the mod when you’re touching it, that’s a recipe for pain. Rinse and repeat until they’re glowing equally, from the inside out.
- Get your cotton out, tear some off and twist it so it makes a wick small enough to fit through the coil, but long enough to ensure that one end makes it onto the bottom of the RDA. Pull it through the coil until it does.
- Let your wick soak up some juice, enough to saturate it without filling the well at the bottom of the RDA and fire it up. If it’s steaming, count it as a success and finish the job with your top cap and drip tip. Voila.
Ready to give it a go? Read our round-up of the 3 best mechanical mods of 2017.


