Whether it’s your first vape or your tenth, we’ve all been guilty of using our devices too much and not caring for them enough. What started out as a shiny new vape soon becomes dirty and gunky, and you’re left questioning your vape tank tastes burnt, why your new The Sweet Stuff Apple Lime still tastes like last month’s SV7 Strawberry Cheesecake and why your top of the range vape is ‘broken’ after only a few months.
But most likely, your vape ain’t broke, all it needs is a clean. Regular maintenance is key to the long-term performance and use of your vape device. Keeping all the components clean and in shape means that you’re going to get the maximum flavour on every hit, every time you fire that vape up, without any flavour ghosting or weird tastes.
If you don’t know how to clean a device, don’t worry, we’ve come up with a comprehensive guide for the best way to clean and maintain your vape tanks and vape mods.
Anatomy of a Vape Device
To really clean your device, you’re going to need to know exactly what the main components are. Your basic box mod will include:
- A Power Source: Stronger than your average vape pen, your box mod uses powerful batteries in order to produce a better throat hit, flavour and more vapour. The battery is contained within the mod’s housing and may have temperature and voltage control options.
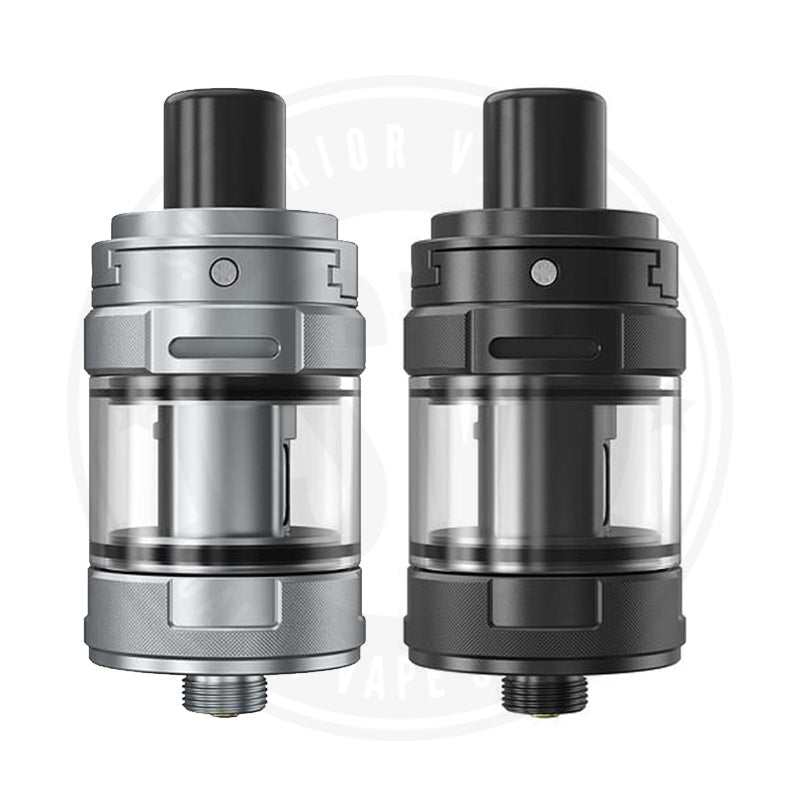
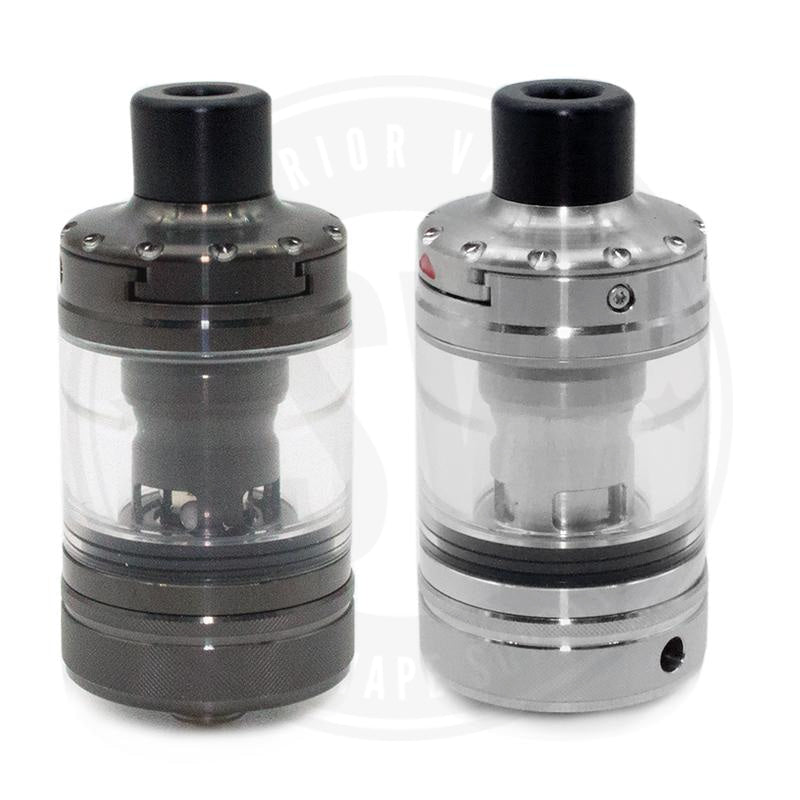
- The Vape Tank: Where your e-liquid goes, your vape tank is usually combined with an atomizer as a singular unit.
- The Coil: The coils, or coils, are essential to your vaping experience, as they are the heating element that converts your e-liquid into vapour.
How to Clean Your Vape Tank
If you don’t know how to do it, cleaning your vape might seem like a tricky process. Before we get onto the process, let’s answer a couple of faqs.
Can I clean my vape with water?
Yes, yes you can. But only your vape tank. Obviously, your vape mod is made of electrical parts that won’t react too well to water, which is why you should always detach your tank before cleaning.
Generally, when we talk about cleaning your vape device, we’re usually talking solely about your vape tank, as this is the part that’s going to get really sticky. The body of your vape does need a little maintenance, but we’ll get back to that later.
When should I clean my vape tank?
Giving your vape tank a quick clean is something you should do every time you change flavours because as quirky as e-juice flavours can get, ending up with a weird cocktail of last month’s Caramel Tobacco and this month’s Mango Pineapple is far from ideal. It’s also best to develop a consistent habit of properly checking over your vape once a week and cleaning it up every few weeks.
But anytime your vape device isn’t performing as well as you think it should be, cleaning it thoroughly using the following steps is the first thing you should do to try and improve its output.
What should I clean my vape tank with?
Usually, rinsing your vape with water should be enough to clean it. But even if after that your vape still isn’t performing as well as it should, or you’ve left it a little while longer than you should have and you need a deeper clean, cleaning it with alcohol should be strong do the job. An unflavoured, high-proof vodka acts as a strong enough solvent to break down any particularly tough e-juice deposits.
Cleaning Your Vape Tank with Water
- Fill a bowl with warm water
- Detach your tank from your mod
- Make sure any e-liquid left in your tank is disposed of
- Disassemble your tank
- Give your tank components a quick clean in the water
- Thoroughly dry off your tank with a paper towel
- Leave to air dry for 15 minutes
- Reassemble your tank and device
Cleaning Your Vape Tank with Alcohol
- Detach your tank from your mod
- Make sure any e-liquid left in your tank is disposed of
- Disassemble your tank
- Dampen a paper towel or cloth with the vodka and scrub off any tough residual juice
- Wipe and rinse with warm water
- Leave to air dry for 15 minutes
- Reassemble your tank and device
Should I Clean Vape Coils?
In short, no. At some point, your vape coils will inevitably deteriorate and no amount of cleaning will revive them. Wetting your coils will burn them out, so all you can really do is replace them.
Coils have a massive influence on the flavour and strength of your vape, and the more you vape, the quicker you are going to wear out your coils. Changing your coils is a necessary part of vape care, but how do you know when you need to change them.
You need to change your coils if:
- They are darker than usual, crusted over, or damaged
- Your vape tastes burnt even after you’ve properly cleaned your device
- If your vape tank or atomiser are leaking
- The amount of vapour you produce has decreased
Due to the number of different coil types available, there’s not really one way to change them out. Generally, however, all coils can be changed out with some variance on the following technique:
- Separate your tank from your device
- Ensure you discard any residual e-liquid
- Unscrew your coil from your device by twisting it to the left
- Screw in your new coil
- Reattach your tank
For more information on what coils are and what they do, head to our blog and read the comprehensive Superior Vapour Guide to Vape Coils.
How to Maintain Your Vape Mod
Your vape mod is at the heart of your vaping experience, so maintaining its condition is essential to ensuring a perfect vape, every time. To properly care for your mod, there are a number of areas you should make sure to regularly check.
First, let’s take a look at those batteries. If your device has a built-in battery, the only thing you really need to worry about, outside of checking for any general damage or defects, is keeping your 510 connection clean from e-liquid or dirt. As a dirty connection can put more stress on your batteries. You can do this by wiping them over with an earbud or paper towel.
If your device has removable batteries, you’re going to have to put in a little more work. Develop a habit of regularly checking your cell connections for dust, dirt or e-juice, whether there are any burn signs on your battery, and if the spring of the Negative terminal is still ‘springy.’ You should also keep the venting holes of your battery clear and clean of debris.
It’s good practice to read up online about how to properly care for your specific type of batteries, always use the correct batteries for your vape, the correct chargers for your batteries and never use batteries with any noticeable defects.
Try and ensure you’re picking up any e-liquid that gets on your device as soon as it falls, as it could potentially leak into your device and ruin the circuitry. With e-liquid, try not to over or under fill your device and let it run dry, and don’t store it in a place that suffers from extremes of temperature.
And, finally, avoid over tightening the atomisers on your device as this can be problematic for your 510 connection.
Ultimately safety is paramount when using any kind of electrical device, especially if you’re choosing to use unregulated, DIY and custom or mechanical mods. By adhering to the correct cleaning and maintenance protocols, you’re minimising risk of danger, as well as enhancing your overall vaping experience.
If you’re new to the vaping world, check out our guides on vape mods and mechanical mods here:
The Superior Vapour Guide to Vape Mods
The Superior Vapour Guide to Choosing a Mechanical Mod
Now you know to clean your vape tank, change your vape coils and maintain your vape, you’ll be vaping longer, better and harder, so go forth and vape.
If you’ve got any questions about maintenance techniques and you’re local to Bristol, why not come into the store and ask one of our sales advisors for a breakdown on anything you’ve read today.


